Small Kitchen Counter Organization: Keep Prep Space Clear Without Buying More Storage
Organize a small kitchen counter around preparing food, making drinks and washing up. Includes a three-zone example and a practical week-long test.
By Shelf & Sill5 min read
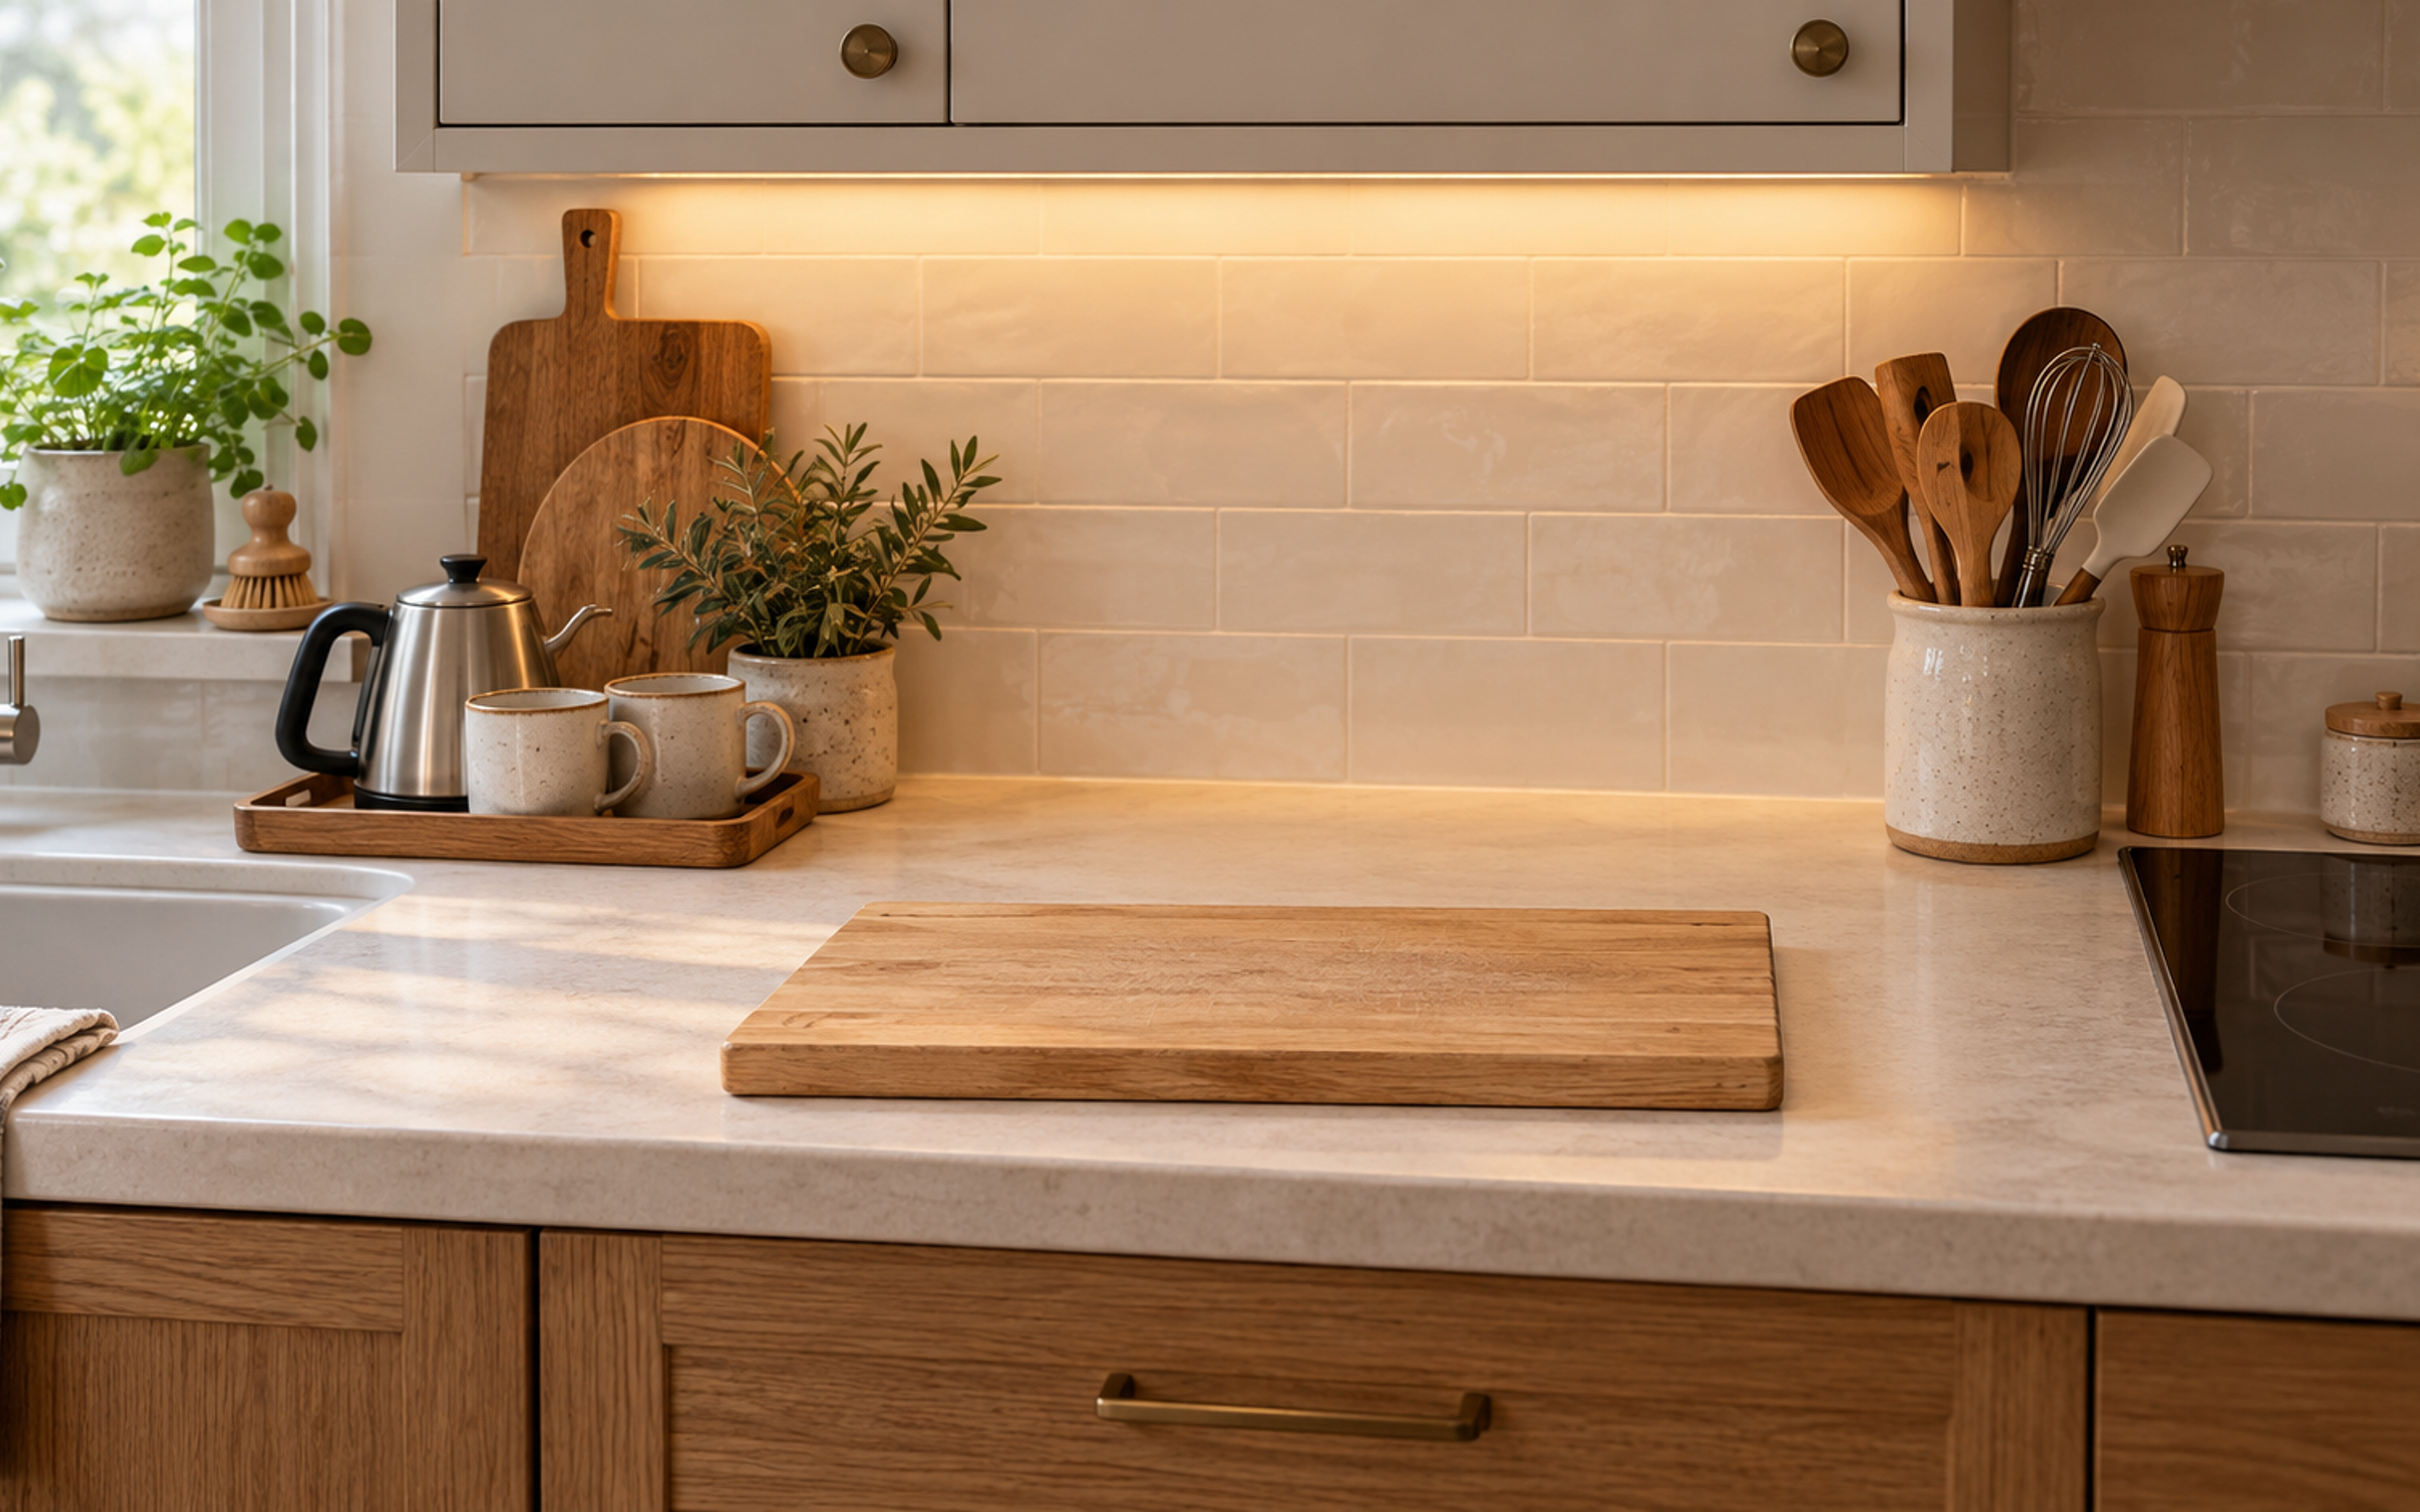
Styled inspiration · products may vary
A small kitchen counter needs to be usable before it looks styled. Reserve a clear place for the cutting board, keep everyday tools near the task they serve, and move occasional-use objects elsewhere. More organizers help only when they leave you with a better working surface.
Begin with one meal you make often. Notice where the ingredients, board, bowl and utensils land. If you have to clear decorations or carry appliances away before cooking, that area needs a different job.
Start with the board, not the basket
Put your usual cutting board on the counter and place a mixing bowl or plate beside it. This shows the space your normal preparation actually needs.
Look for a position that lets you work without blocking the sink or reaching across a hot cooking surface. The best patch of counter may be the one currently occupied by a coffee display or a rarely used machine.
Once the board has a reliable home, organize the other objects around that working area. Treat the empty surface as useful space rather than something waiting to be decorated.
Create three small zones
Food preparation
Keep the board, a bowl and the tools you reach for during cooking accessible. They do not all need to live on top of the counter. A nearby drawer can be easier to clean and less crowded than a large utensil holder.
Drinks
Group the kettle or coffee equipment with the few items used alongside it. A tray can define the area if it fits the equipment safely and is suitable for the intended use. It should not block required ventilation, controls or access.
Washing up
Give dish soap, a brush and drying items a place near the sink. Keep this wet area distinct from the clear prep patch. Avoid an arrangement where you must reach over clean dishes every time you use the tap.
A worked example: a 60-inch counter run
Imagine a continuous 60-inch stretch of counter. It currently holds a 20-inch-wide collection of drink equipment, a 24-inch appliance grouping and a 16-inch dish rack. There is no uninterrupted space left for the board.
Your first improvement might be to store one occasional appliance elsewhere. Reduce the drinks area to the kettle and two daily mugs, then test a smaller drying arrangement that suits your dishes and sink.
Suppose those changes leave an 18-inch drinks zone, a 24-inch clear prep patch and an 18-inch washing-up zone. The numbers now add up to the same counter length, but the middle has an explicit purpose.
This is an example of dividing space, not a recommended kitchen specification. Keep the layout appropriate for your actual appliances, clearances and cooking tasks.
Try the seven-day appliance test
Write down which counter appliances you use each day for a week. A machine used occasionally may not deserve a permanent place beside the sink, while one used at every breakfast probably does.
Find accessible storage for the occasional item before removing it from the counter. A heavy appliance on an awkward high shelf simply exchanges one problem for another.
Store and operate appliances according to their instructions. A cupboard can be a storage place without being an appropriate place to run a heat-producing appliance.
IKEA's hidden kitchen storage guide illustrates ways to use existing cabinet height and keep small appliances off the worktop. Measure the spaces you already have before adding furniture.
Measure organizers with their contents
A narrow rack may fit against the backsplash but become deeper once handles or bottles project beyond it. A container that fits under a cabinet may still prevent you from opening the machine beside it.
Mark the organizer's footprint and put the intended objects inside a temporary version of that space. Can you lift the kettle, remove a spice jar and wipe behind it?
Check whether a tiered shelf conceals the wall outlet or encourages objects to be stacked above an appliance that needs clearance. Extra levels are useful only when the items remain reachable and the equipment can operate as intended.
Group small items without making a permanent obstacle
A washable container can collect the utensils you actually use, but edit the contents. Duplicates and occasional tools can go in a drawer.
Keep an oil bottle where its storage directions and the kitchen conditions allow. The spot directly beside a hot hob may be convenient but is not automatically the right storage place.
A tray should make it easier to lift a group and wipe underneath. If it becomes too heavy to move or grows into an overflow area, reduce the group.
Keep packaging and refills realistic
Decanting every ingredient is optional. It can create extra half-empty packets that still need a cupboard. Keep labels, dates and preparation directions when you transfer food to a different container.
Use a defined place for refills so the counter does not become their temporary home. Put shopping away into that space rather than adding another row of jars beside the board.
If some everyday dishes belong on open shelves, our open kitchen shelf guide shows how to arrange them for use and cleaning.
Choose one decorative detail at the end
After the working layout succeeds, try one ceramic jug, a small bowl or another useful object that already belongs in the room. You may find that the cutting board and everyday dishes provide enough texture on their own.
Keep the prep patch available. Moving a large display before every meal is a maintenance cost, even when the display itself was inexpensive.
An organized counter can look lived-in. The aim is a surface that can return to a useful state after cooking, rather than a kitchen that never shows signs of a meal.
A short reset after dinner
- Put away appliances and ingredients that have storage elsewhere.
- Return daily equipment to its assigned zone.
- Wash or replace cloths and brushes as appropriate.
- Clean the prep surface for its next use.
- Check whether any item has started collecting objects around it.
If the same item is repeatedly left out, reconsider its storage location. The best system is usually the one the household can maintain during a busy week.
Quick answers
Should every appliance be hidden?
No. Daily use, weight and access matter. Store occasional items where they remain easy to handle.
Are countertop shelves always space-saving?
They add storage levels but consume a footprint. Test whether they improve access without taking away the surface needed for food preparation.
What should you buy first?
Begin with a week of observation and rearrangement. Buy an organizer only after identifying a specific group that needs one and measuring where it will go.
You might also like
Kitchen & Dining
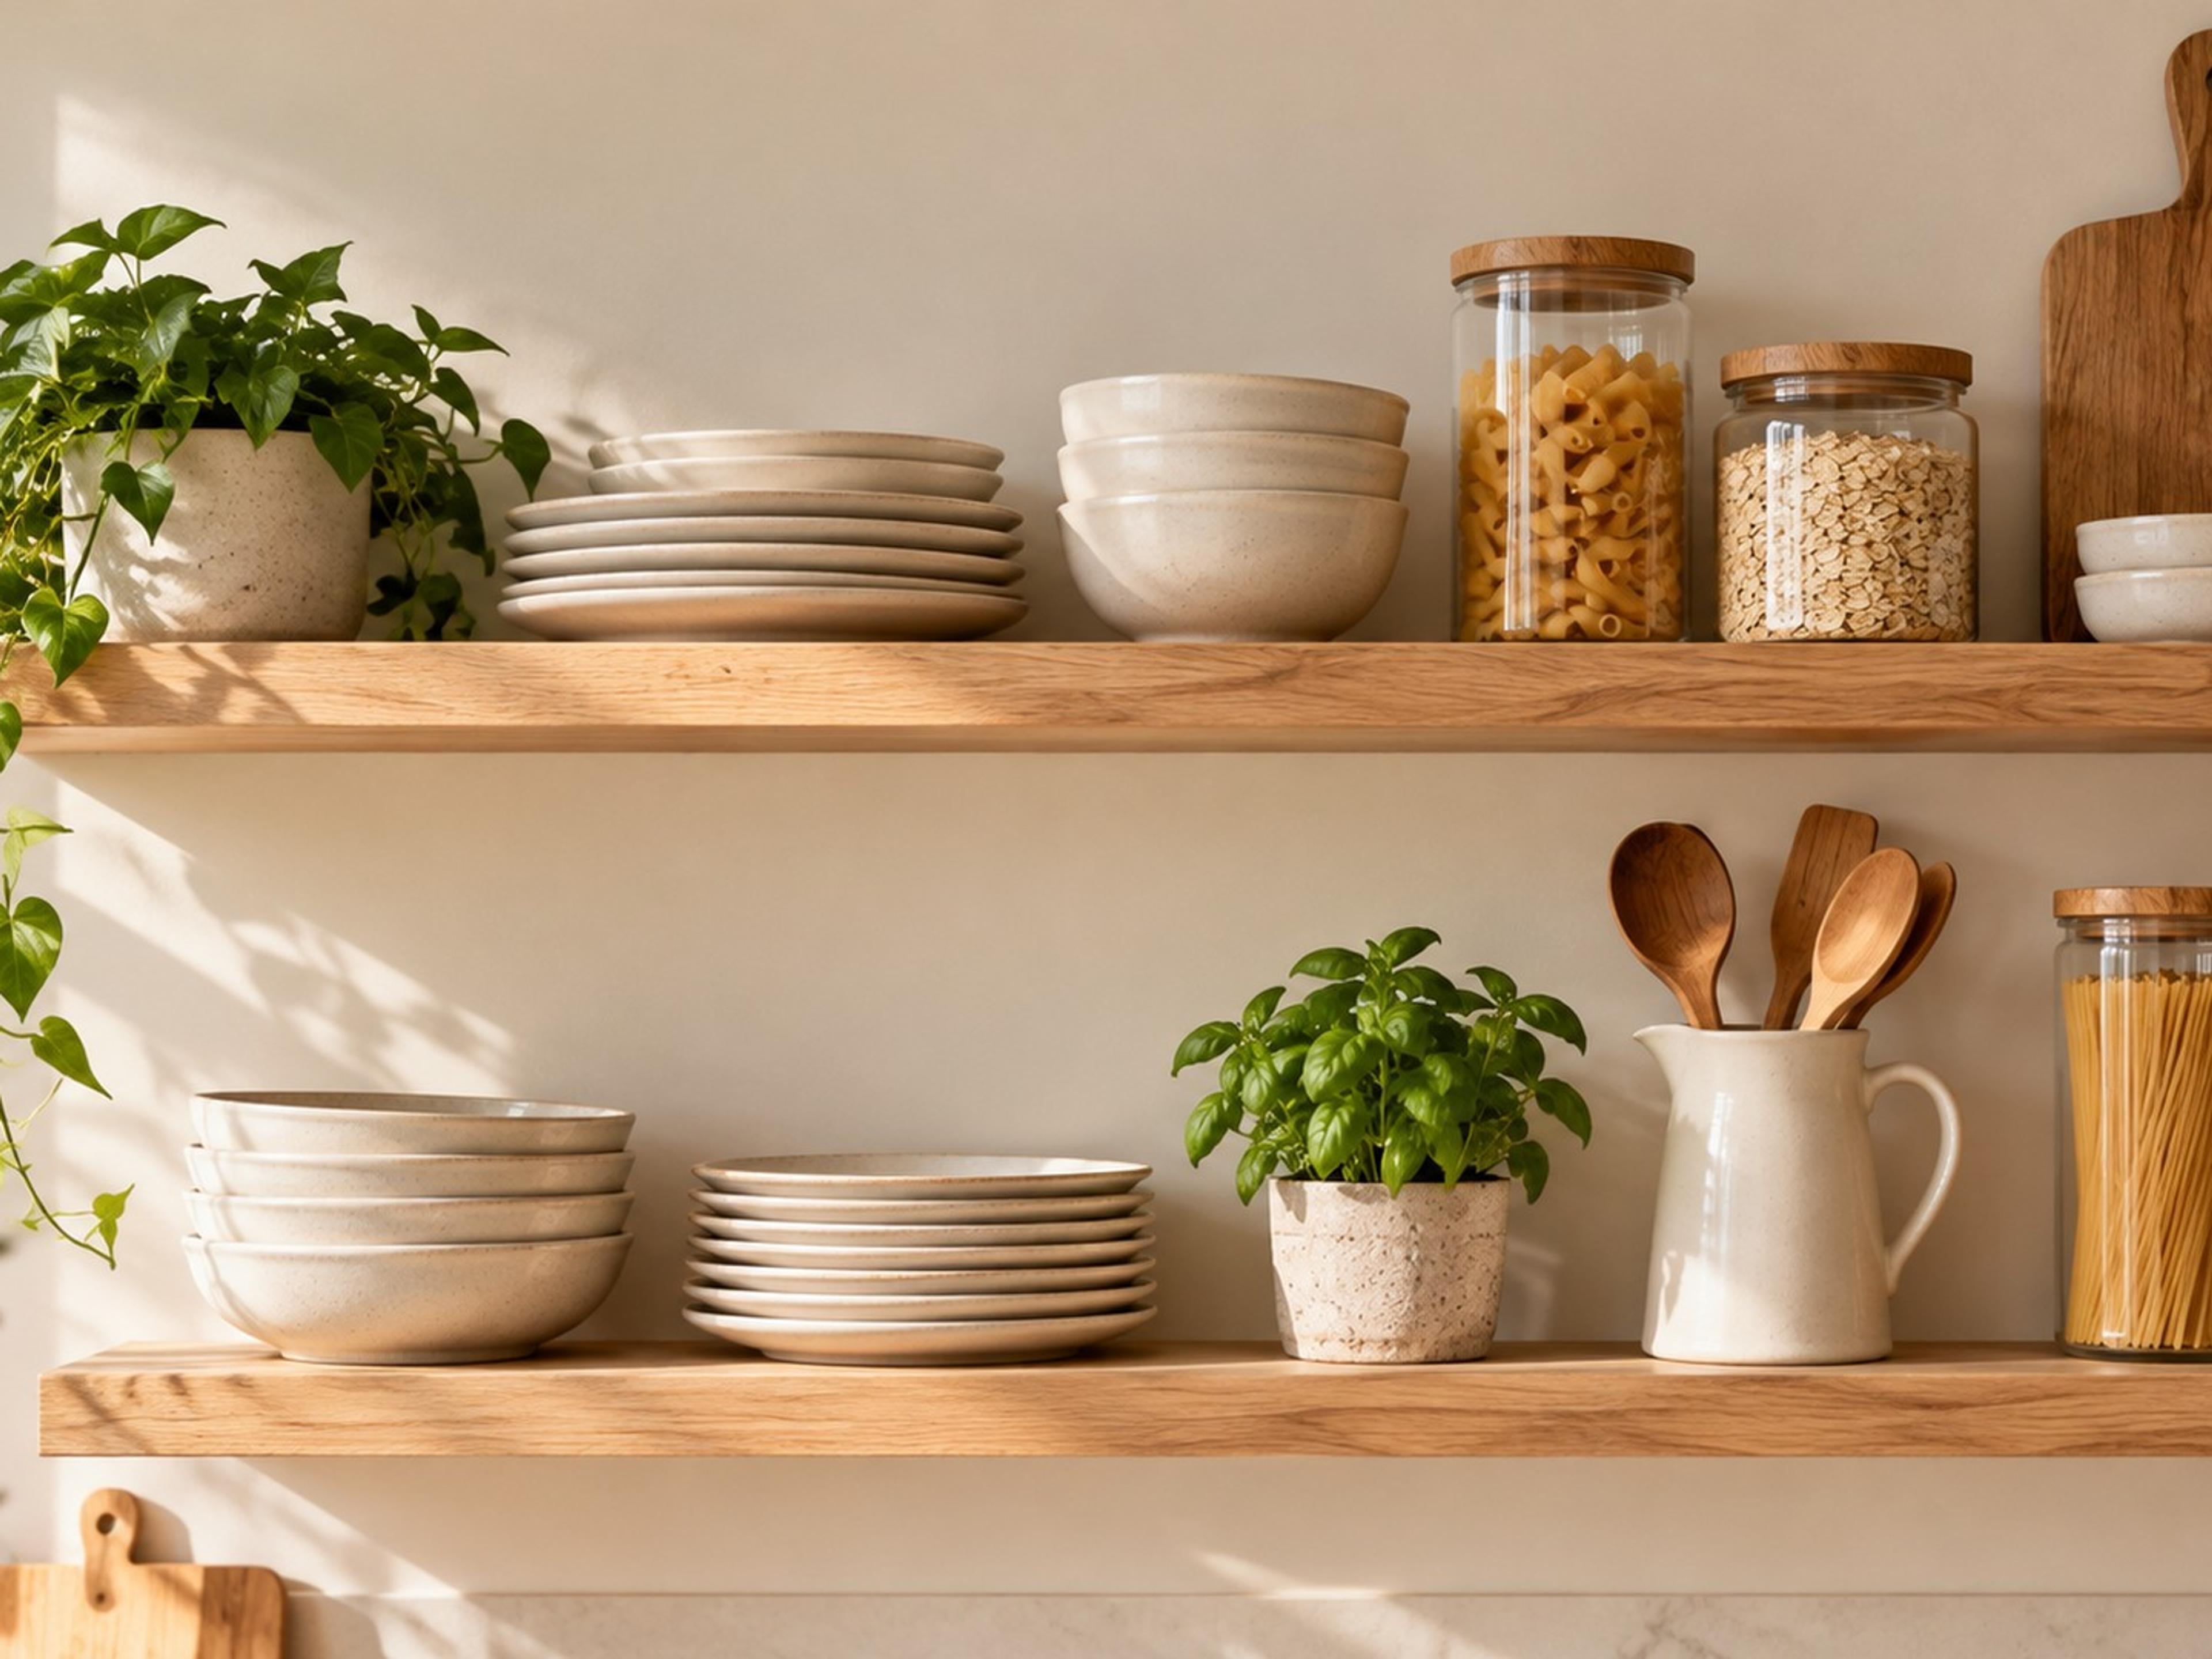
How to Style Open Kitchen Shelves (So They Look Good and Stay Useful)
Style open kitchen shelves with dishes you actually use. Includes a two-shelf example, a no-buy styling plan, jar storage checks and an easy reset routine.
Kitchen & Dining
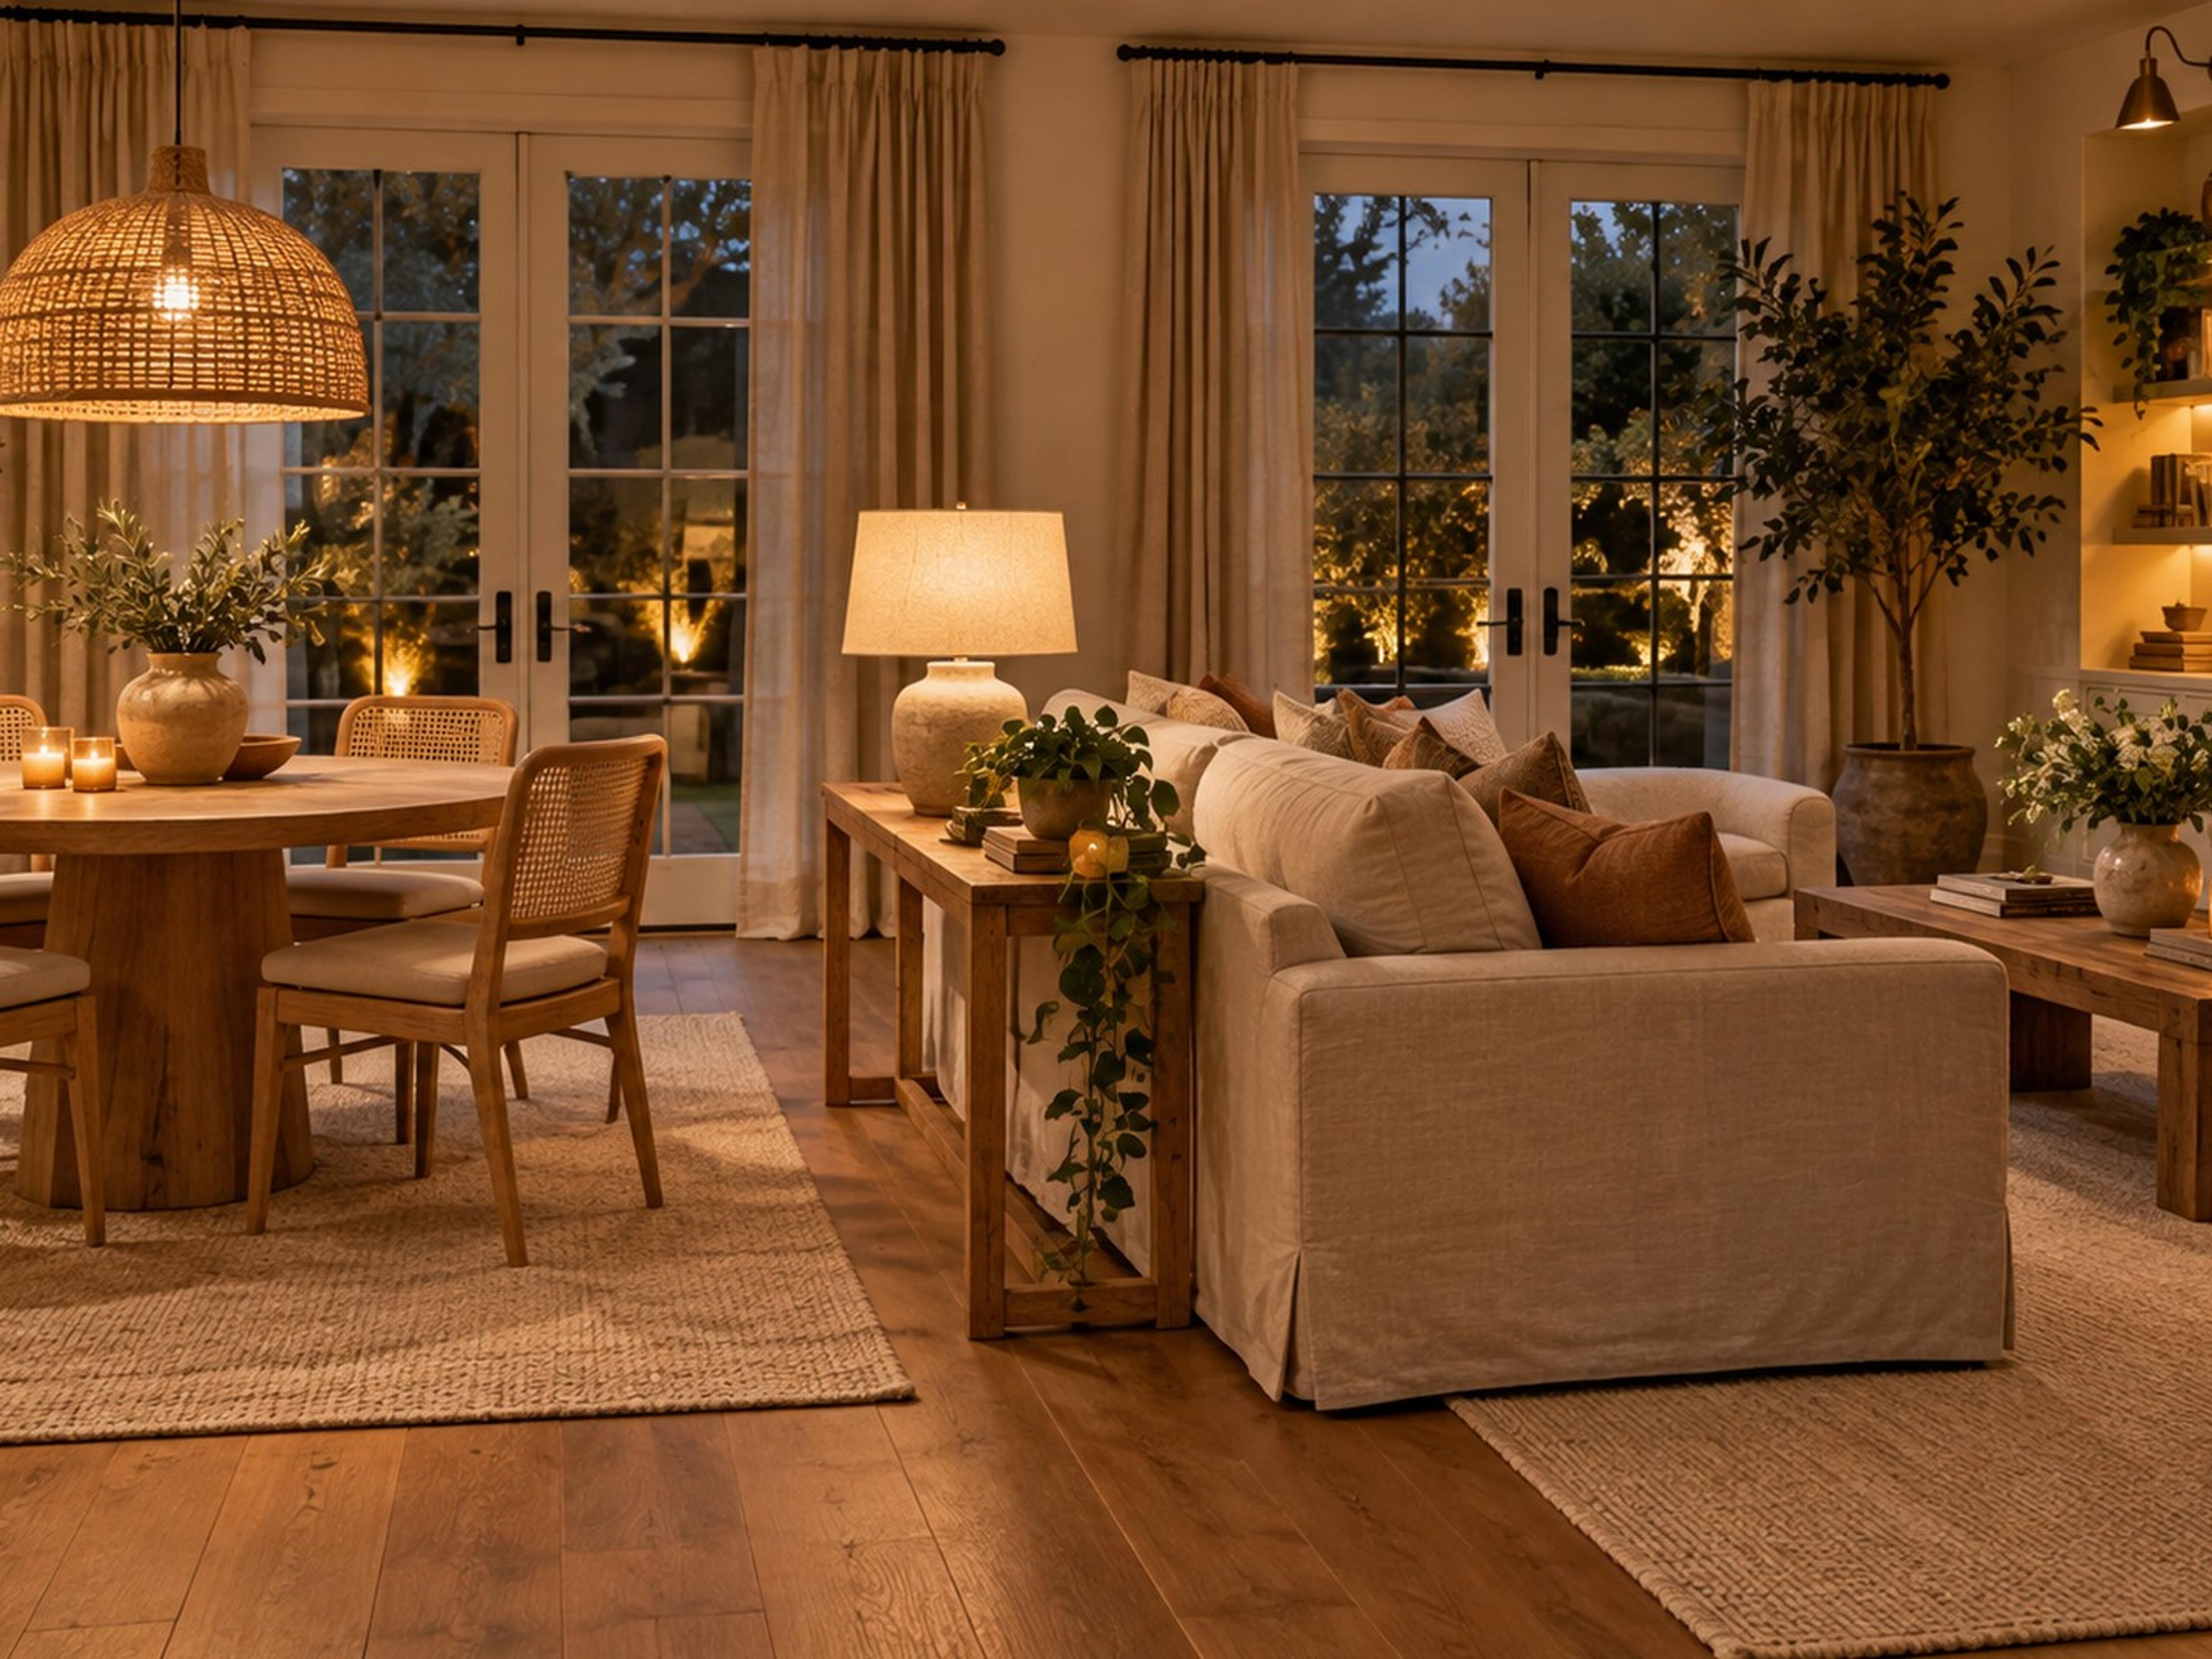
Small Living Dining Room Combo: Layout and Zoning Ideas That Work
Plan a small living dining room around real chair clearance and daily routes. Includes a table-size calculation, three layout options and a practical floor test.
Kitchen & Dining
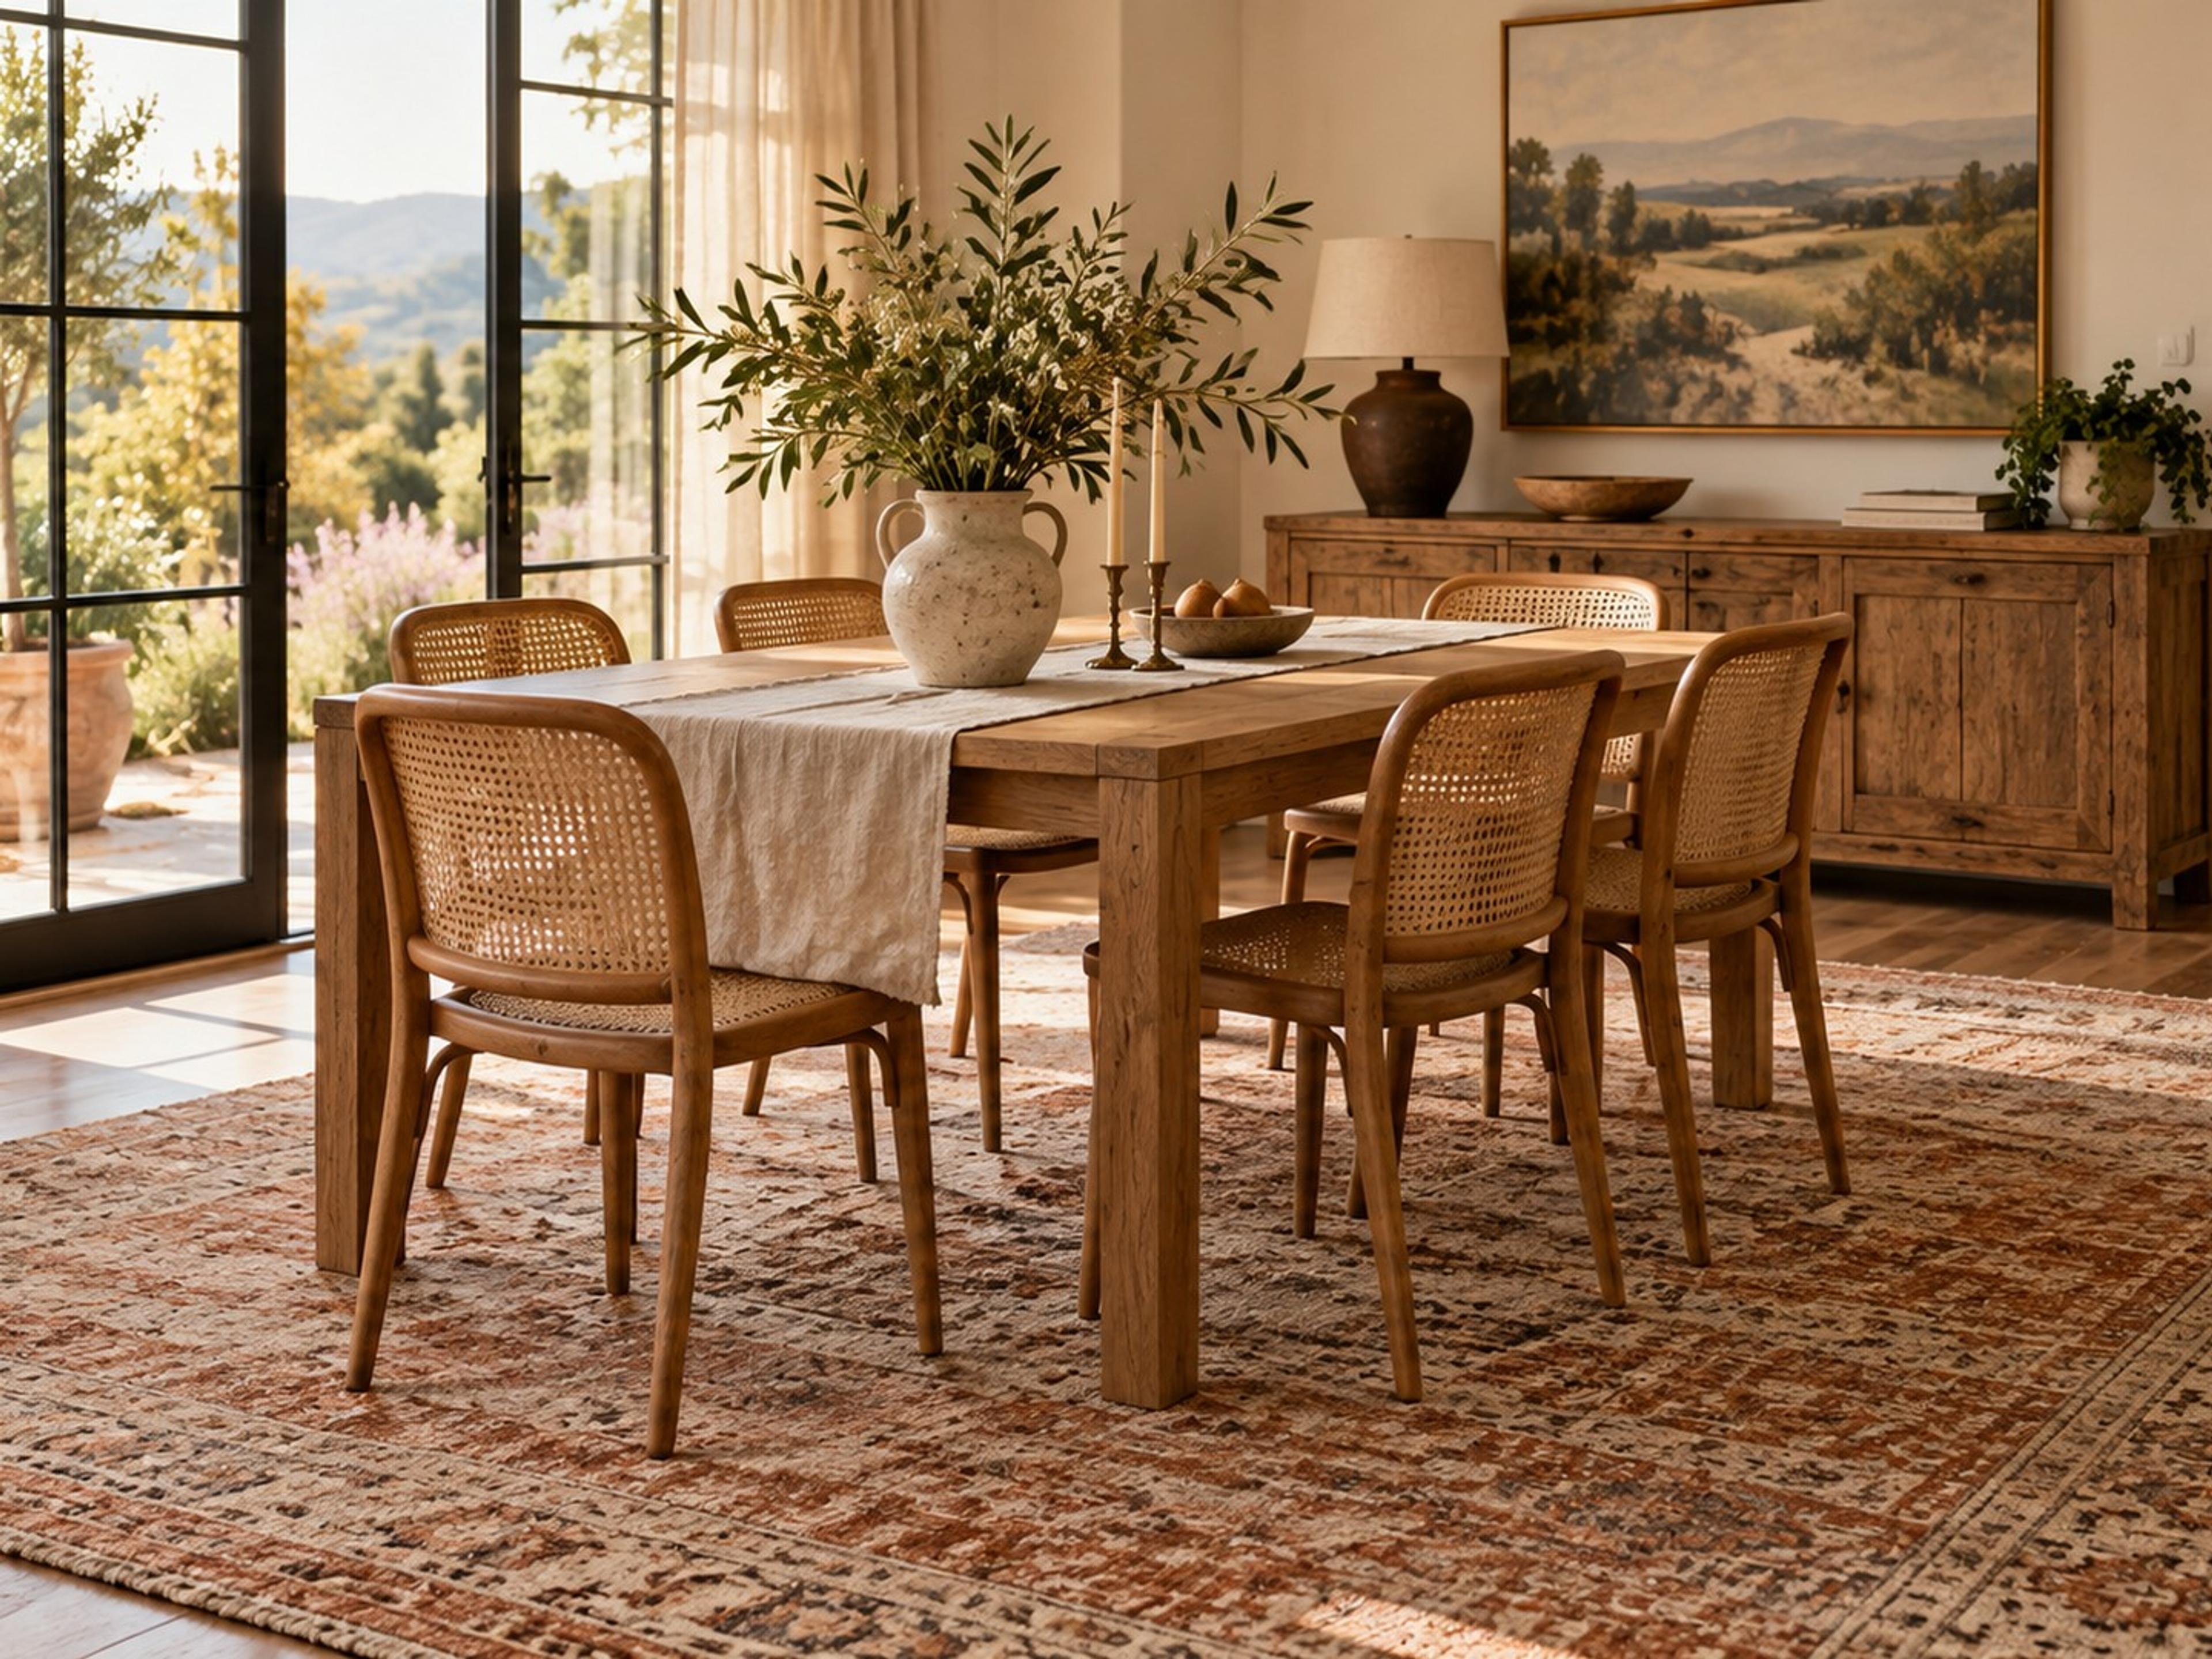
Rug Under a Dining Table: Size, Shape and Material Guide
Choose the right rug under a dining table: size for pulled-out chairs, match the table shape, pick practical materials and forgiving patterns.