How to Style Open Kitchen Shelves (So They Look Good and Stay Useful)
Style open kitchen shelves with dishes you actually use. Includes a two-shelf example, a no-buy styling plan, jar storage checks and an easy reset routine.
By Shelf & Sill5 min read
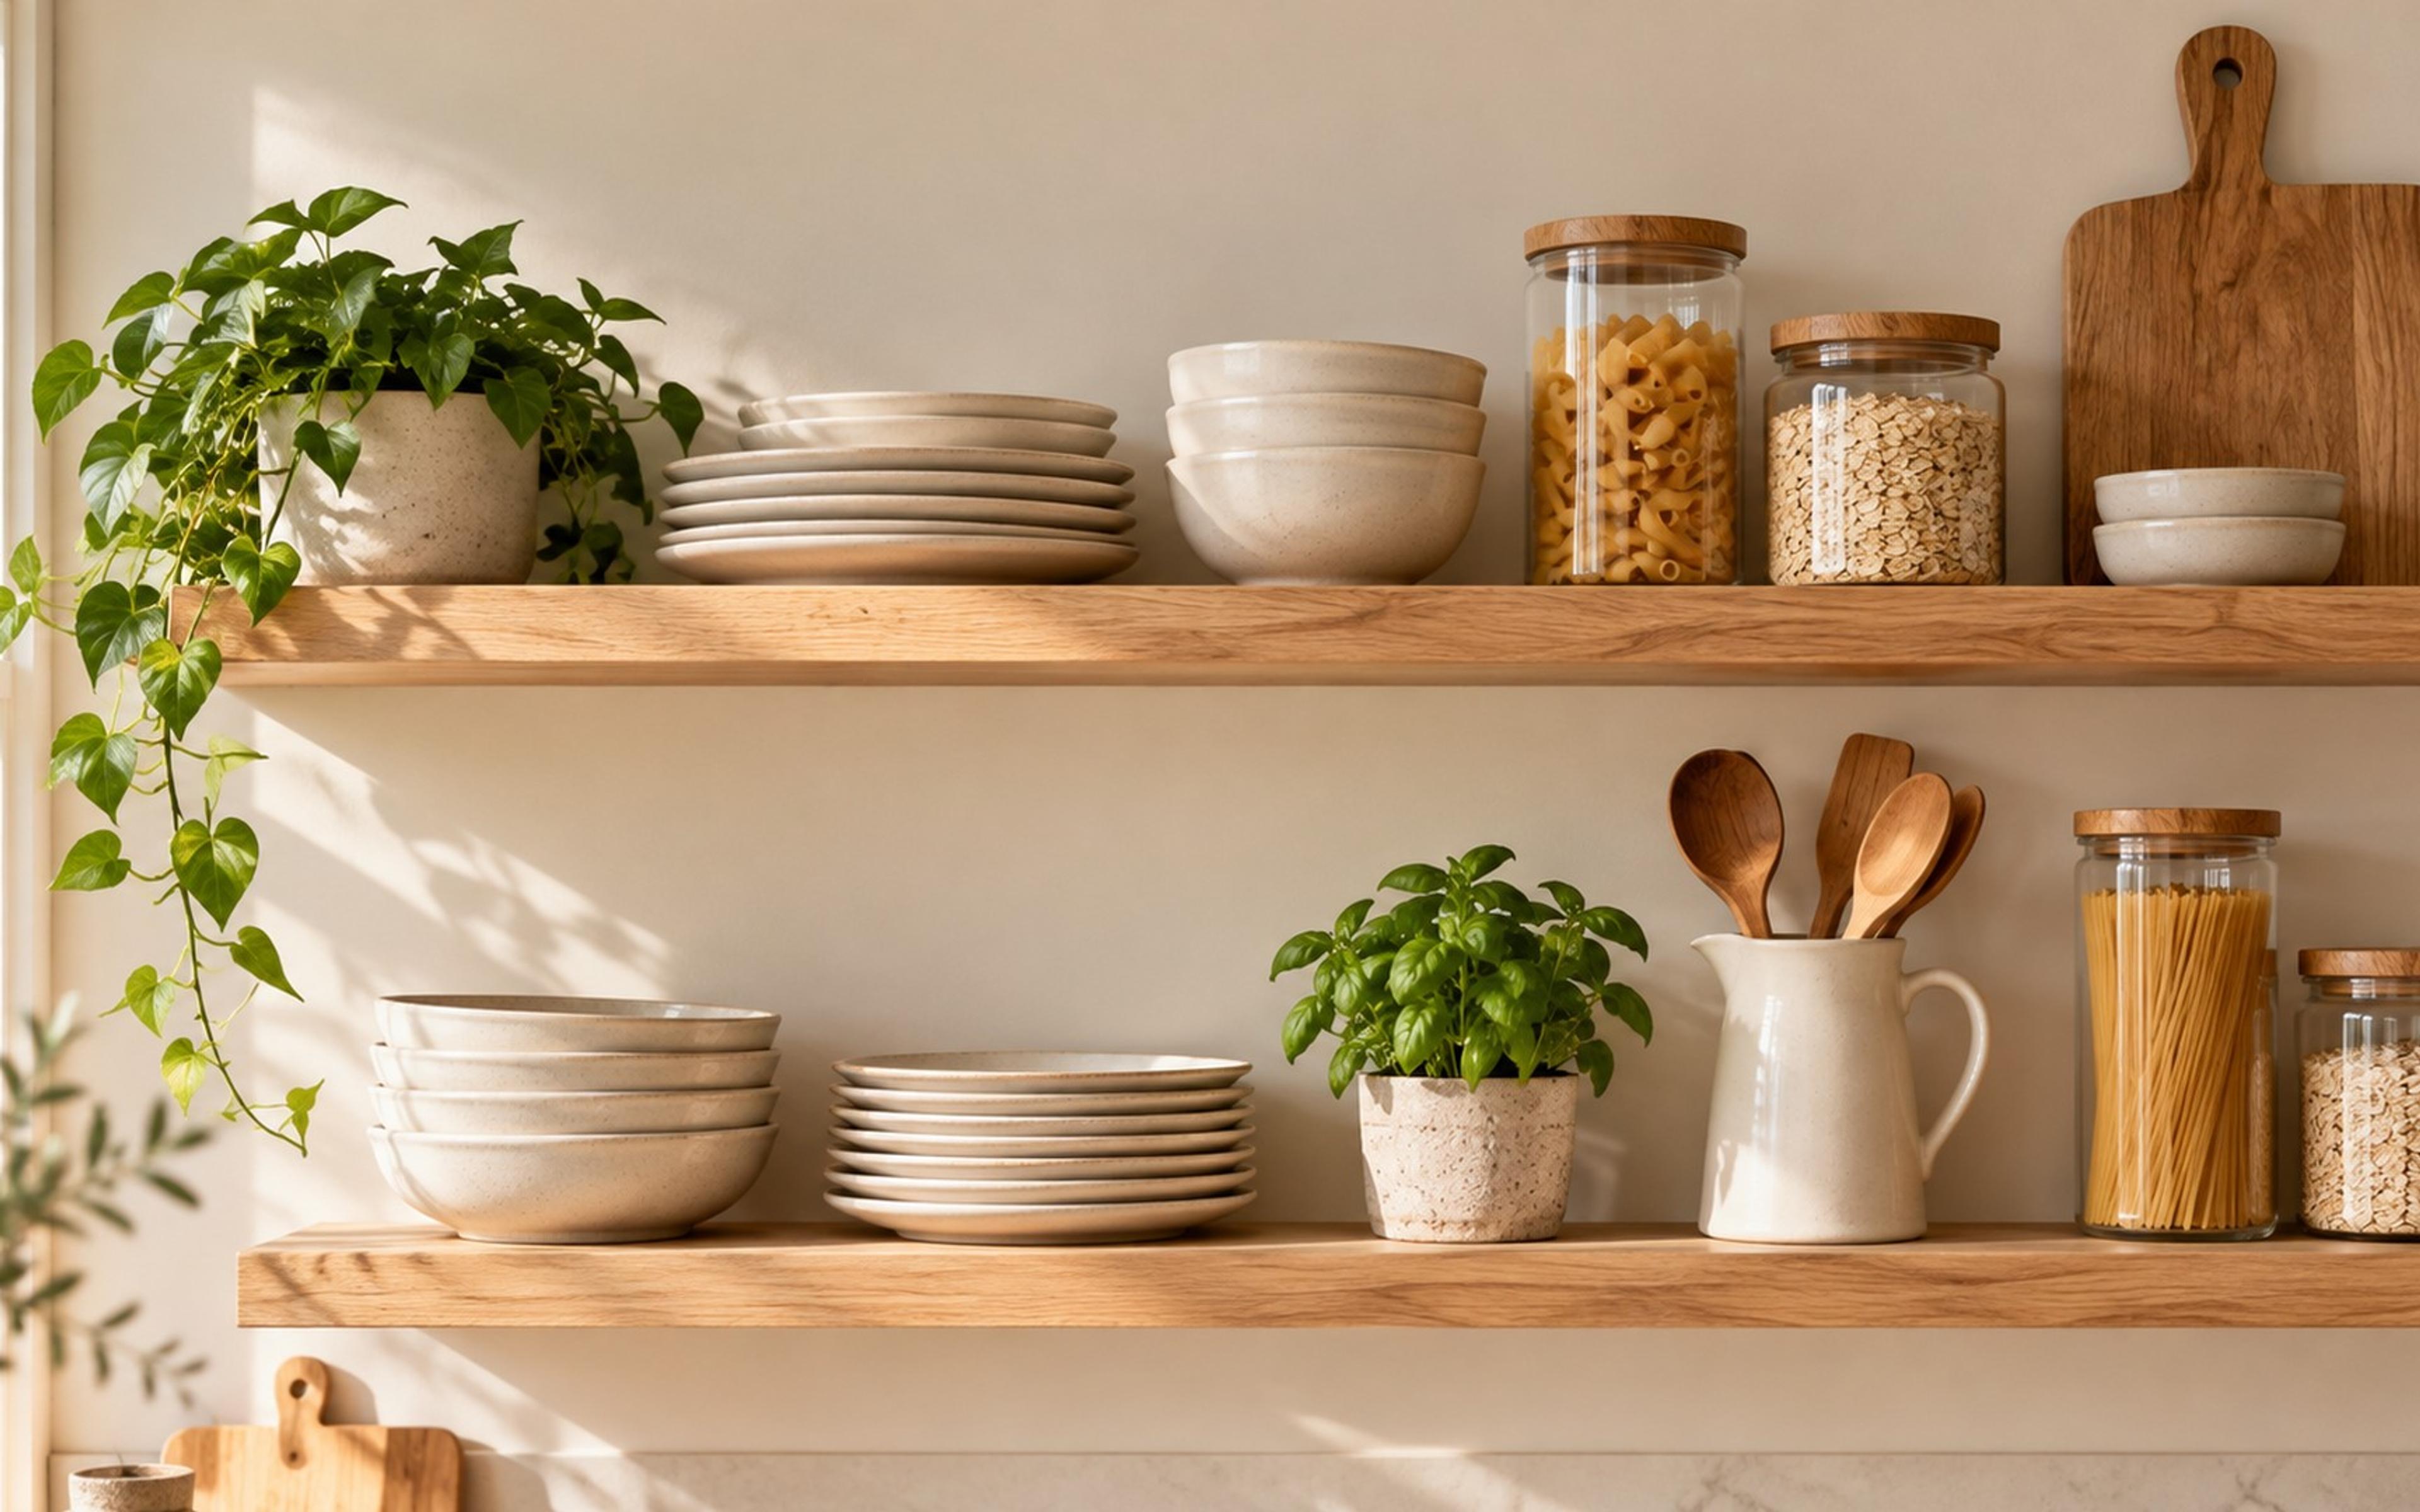
Styled inspiration · products may vary
The easiest open kitchen shelves to live with hold things you reach for regularly. Start with the dishes that need a home, arrange them so they are easy to lift and replace, then use a small amount of decoration to connect the groups.
You do not need matching jars or a new dinner set before you begin. A shelf can look calm with mixed pieces when the arrangement has a clear job, a few repeated colors and enough room for your hands.
Start with a use test
Take everything off one shelf and separate it into three groups: used most days, used occasionally, and kept mainly for display. Ask which pieces are genuinely convenient to reach from that location.
A breakfast shelf near the kettle can hold mugs and bowls. A shelf beside the dishwasher may work for plates. Items used only for holidays can stay in closed storage rather than collecting dust at eye level.
Open shelves are not automatically the right place for everything. If a shelf is close to cooking splatter or too high to reach comfortably, give it a different role or leave it lightly filled.
Check the shelf before arranging it
Measure its depth and the clear height above it. A dinner plate may technically fit but still be awkward if it projects beyond the edge. A tall jug needs clearance for your hand when you lift it.
Follow the shelf and fixing instructions for load limits and installation. A stack of dishes and filled jars can be heavy. Keep the heavier, frequently used items in a position where you can handle them comfortably.
Styling cannot compensate for loose brackets, an uncertain wall fixing or a shelf that flexes. Resolve those issues before adding a display.
A worked example: two 36-inch shelves
Imagine two shelves, each 36 inches (about 91 cm) wide and deep enough for your everyday dishes. This is a starting arrangement to test, not a required inventory.
On the lower shelf, place one manageable stack of dinner plates at the left, a shorter stack of bowls near the center and four everyday mugs on the right. Leave gaps between the groups so a hand can lift a plate without nudging a mug.
On the upper shelf, place an occasional serving bowl, a small jug and a cutting board that is securely supported. If the jug is used daily, move it down and replace it above with something used less often.
Now rehearse unloading the dishwasher. If you must unstack display pieces to put away a bowl, the arrangement needs simplifying. If a board blocks the object behind it, move the board rather than accepting a daily inconvenience for the photograph.
Build a palette from your existing dishes
Choose the colors that already appear most often. White plates, blue mugs and a pale wood board can work together without buying replacements. Repeat the blue in one other object if you want the shelves to feel more connected.
Put a particularly busy group in a cabinet and compare the result. Sometimes removing packaging or redistributing a few mugs does more than buying uniform containers.
Matching everything is optional. A handmade bowl or a well-used family jug can be the shelf's most interesting piece. Give it space rather than surrounding it with several competing accents.
Arrange groups rather than individual objects
Start with the largest practical group, such as the plates, then place the next group where it remains reachable. Use smaller items to balance the composition after the functional pieces are set.
Try a tall shape beside a low stack, with a little empty space between them. Avoid turning the whole shelf into a continuous row of objects at the same height.
Stand back from the kitchen entrance, then return and use the shelf. Both views matter. A shelf that photographs well but takes two hands and several rearrangements to retrieve a mug will not stay tidy for long.
Decant food only when it helps
A jar should solve a storage problem, rather than create another chore. Keep foods according to their package directions, including requirements for airtight storage, light and heat.
When decanting, keep the ingredient name, best-before date and preparation instructions with the container. Allow a washed jar to dry fully before filling it. Use the older contents before topping up, and clean the container as appropriate between batches.
You do not have to transfer every ingredient. An opaque package in a cupboard may be better for a food that should stay away from light. Keep a realistic place for partly used bags and refills; the extra packaging does not disappear just because one portion is in a jar.
Add warmth without losing working space
A wood board, a ceramic jug or a single small decorative piece may be enough. Choose an item that relates to a material elsewhere in the kitchen so it feels connected.
If you already have several wood finishes, see how to mix wood tones. You can test a board or bowl from another room before buying a new accent.
Plants are optional. Choose a location with appropriate light and keep foliage away from the cooking area and food preparation. Leaving out a plant that struggles there is more practical than treating greenery as a required styling step.
A no-buy shelf reset
- Clear and clean one shelf following the surface's care instructions.
- Return only the daily-use objects that make sense there.
- Group plates, bowls or mugs so they are easy to put away.
- Borrow one accent from elsewhere in the home.
- Remove anything that blocks another item.
- Use the arrangement for a week before buying organizers.
If something never goes back in its assigned place, ask why. The stack may be too tall, the shelf too high, or the item needed closer to the kettle.
Keep cleaning part of the arrangement
Inspect shelves regularly and clean when needed; cooking habits and location affect how quickly grime accumulates. Frequently used dishes still need cleaning, and being used daily does not make a shelf dust-free.
Avoid tall towers that make wiping the surface a major project. Smaller, manageable groups are easier to move. Check the underside of rarely used bowls before putting them on the table.
If the kitchen produces heavy grease near the shelves, reduce what is exposed. A display-only shelf near the stove may take more maintenance than you want.
When closed storage is the better answer
Use closed storage for items that are awkward to stack, packaging you need to keep, and objects you rarely use. You do not need to make every kitchen possession decorative.
For a rental, rearranging existing shelves can be a useful first step. New shelves and tall freestanding units still need suitable installation or anchoring according to their instructions and any applicable rental agreement.
Quick answers
How do you stop shelves looking cluttered?
Give each group a purpose, repeat a few existing colors and remove objects that block daily use. Empty space is useful access space.
Do the dishes have to match?
No. Try grouping by color, material or use. Test that before replacing functional dishes.
How many decorative pieces do you need?
There is no set number. Begin with one and add another only if the shelf remains easy to use and clean.
You might also like
Kitchen & Dining
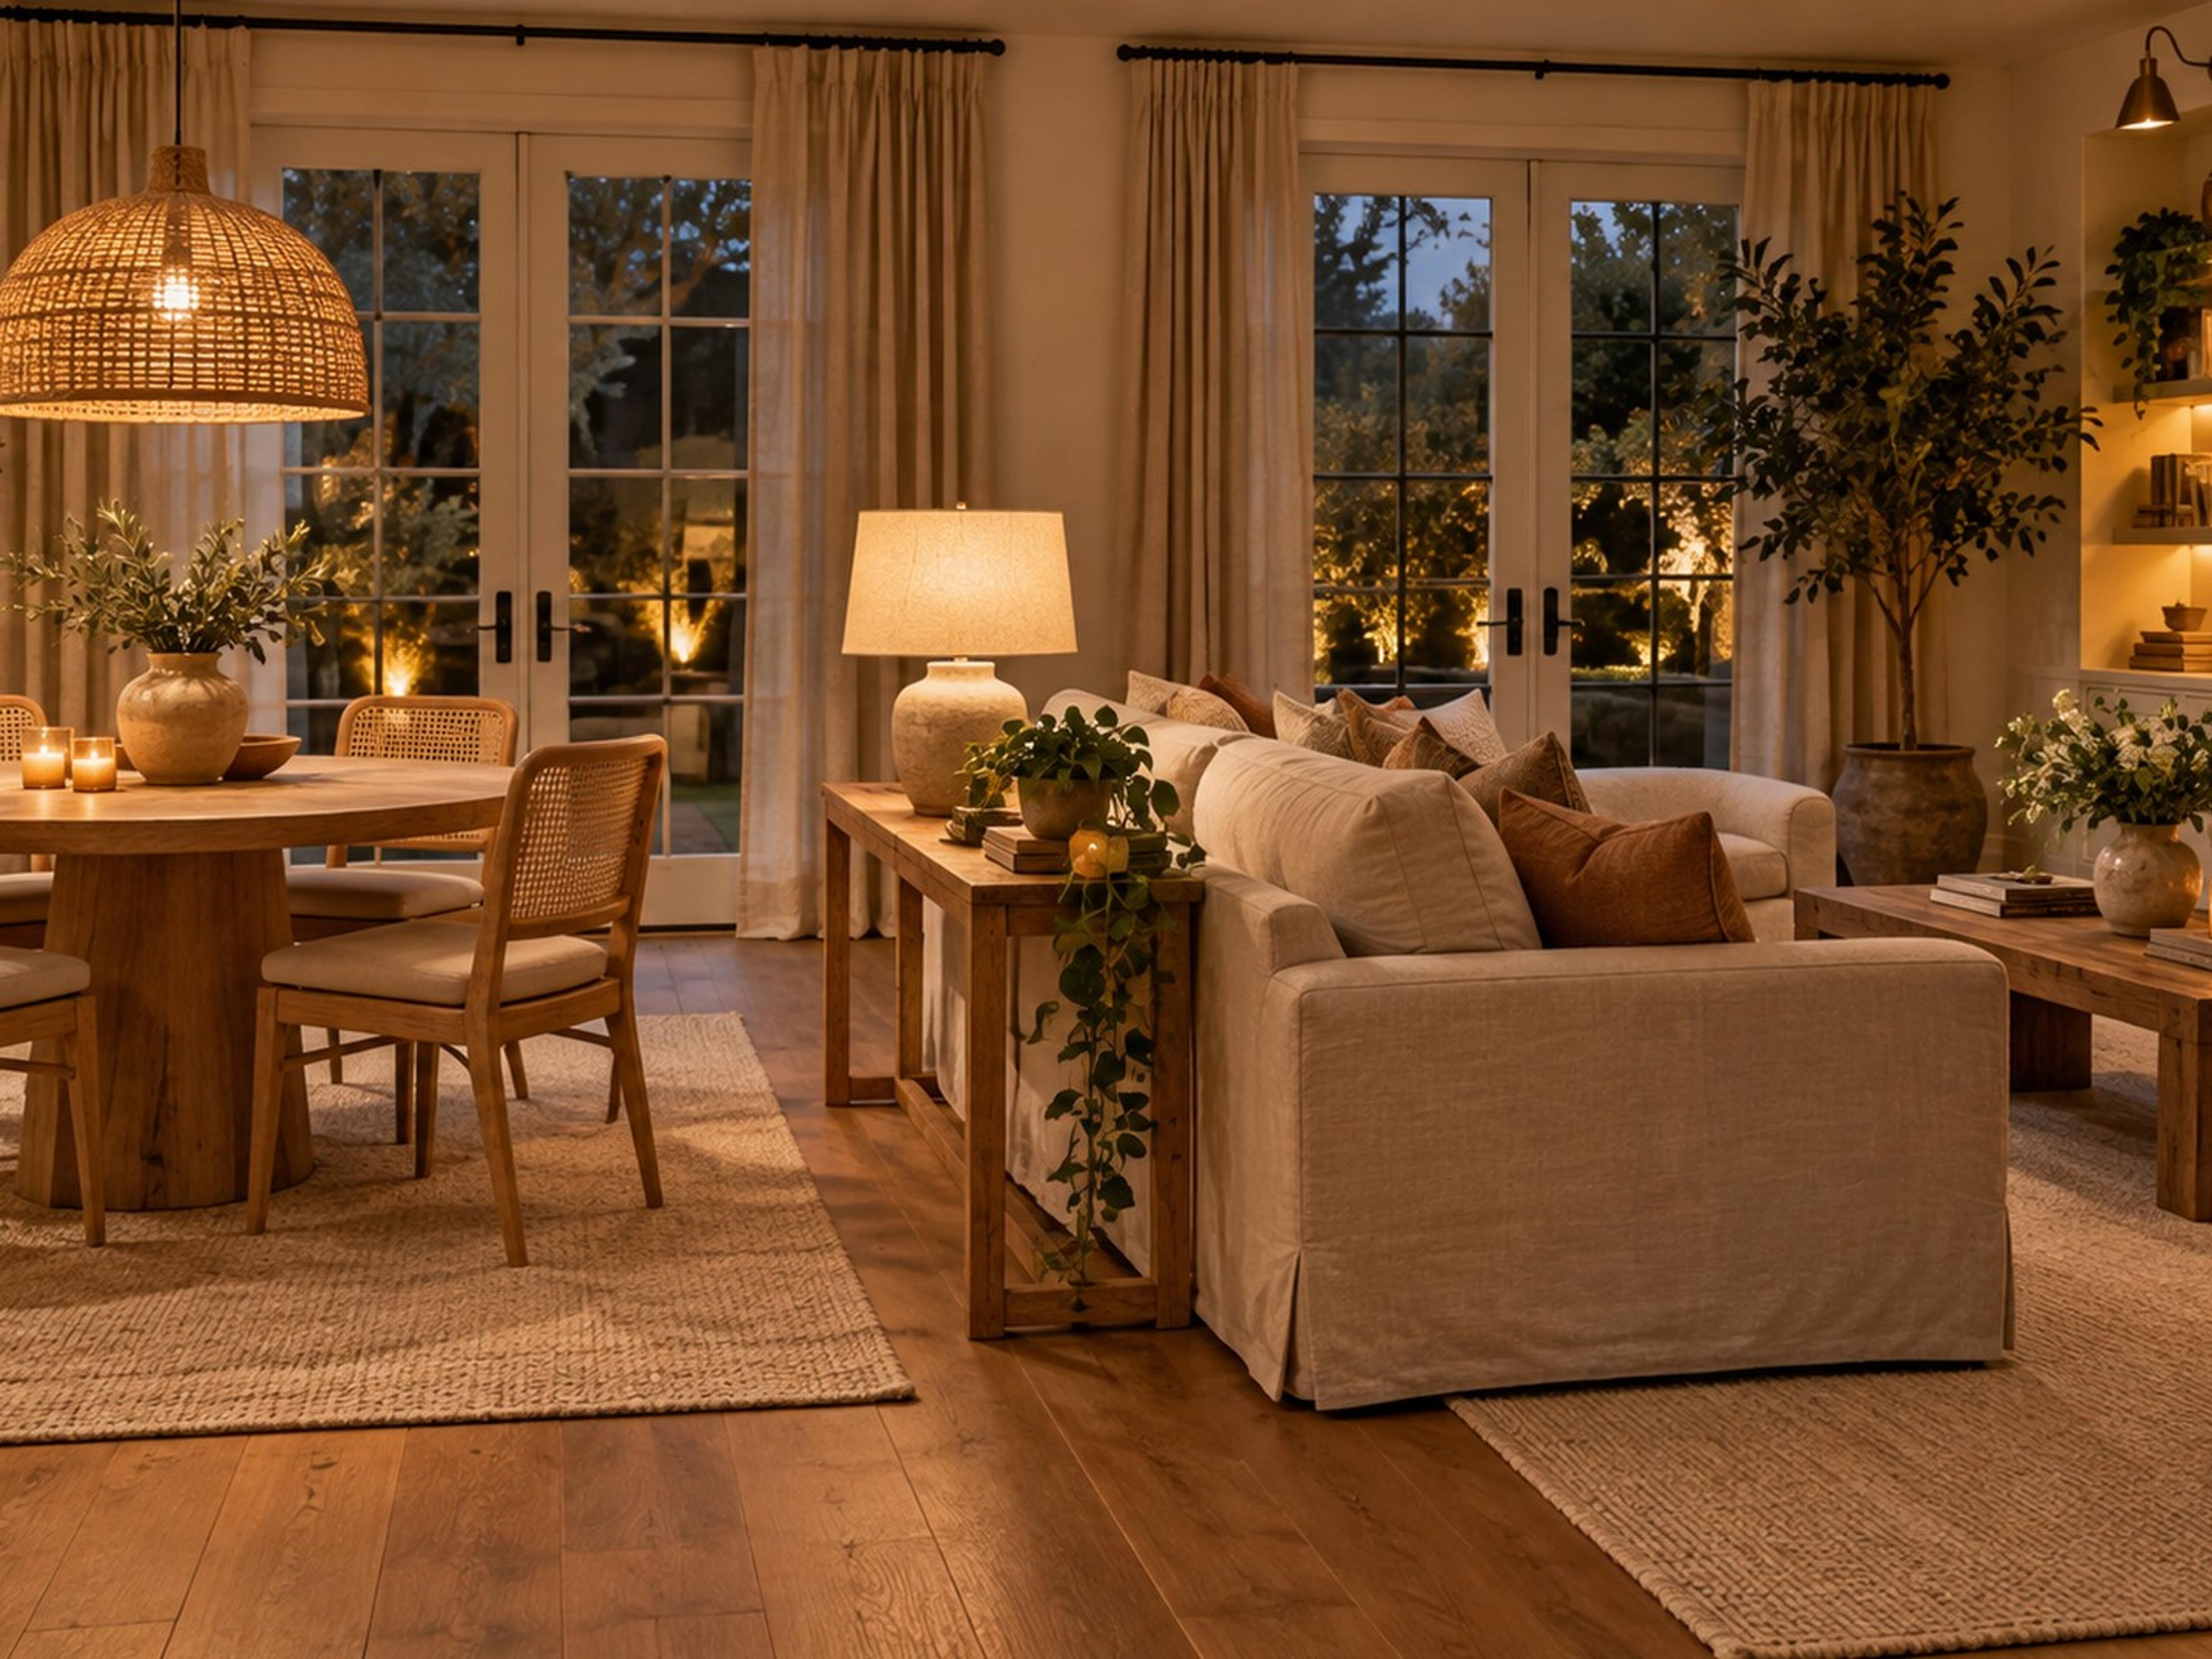
Small Living Dining Room Combo: Layout and Zoning Ideas That Work
Plan a small living dining room around real chair clearance and daily routes. Includes a table-size calculation, three layout options and a practical floor test.
Kitchen & Dining
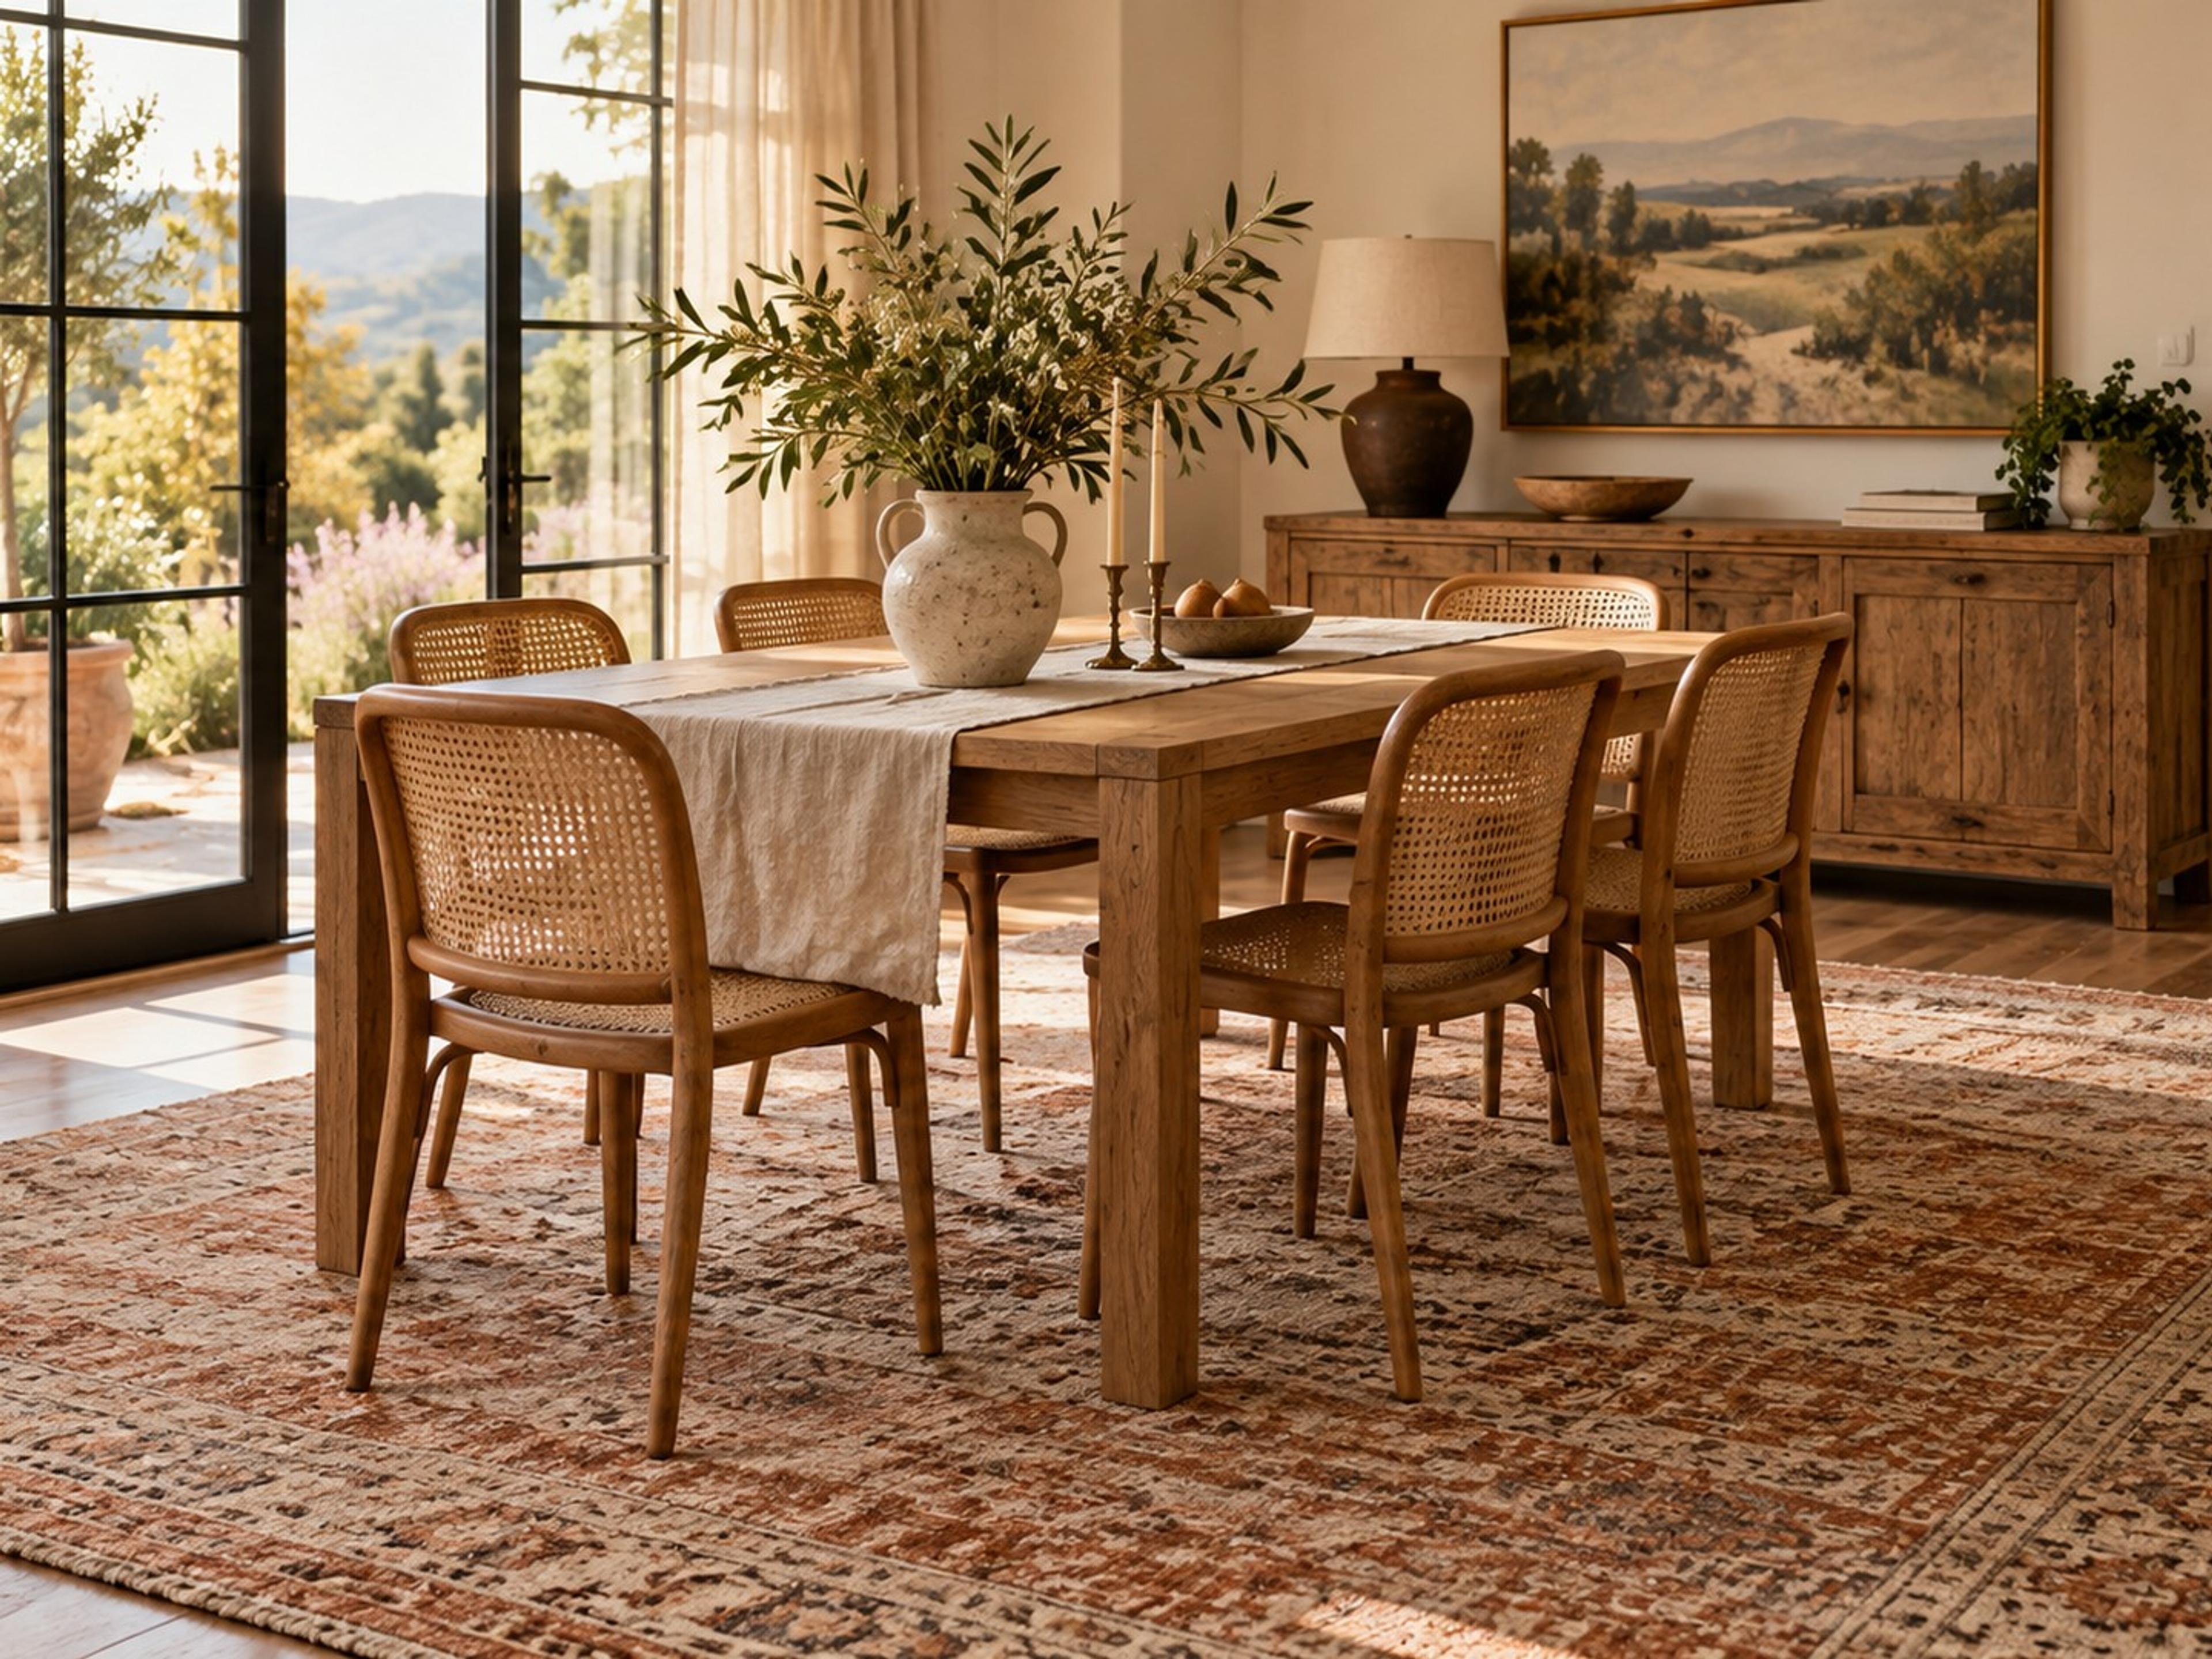
Rug Under a Dining Table: Size, Shape and Material Guide
Choose the right rug under a dining table: size for pulled-out chairs, match the table shape, pick practical materials and forgiving patterns.
Kitchen & Dining
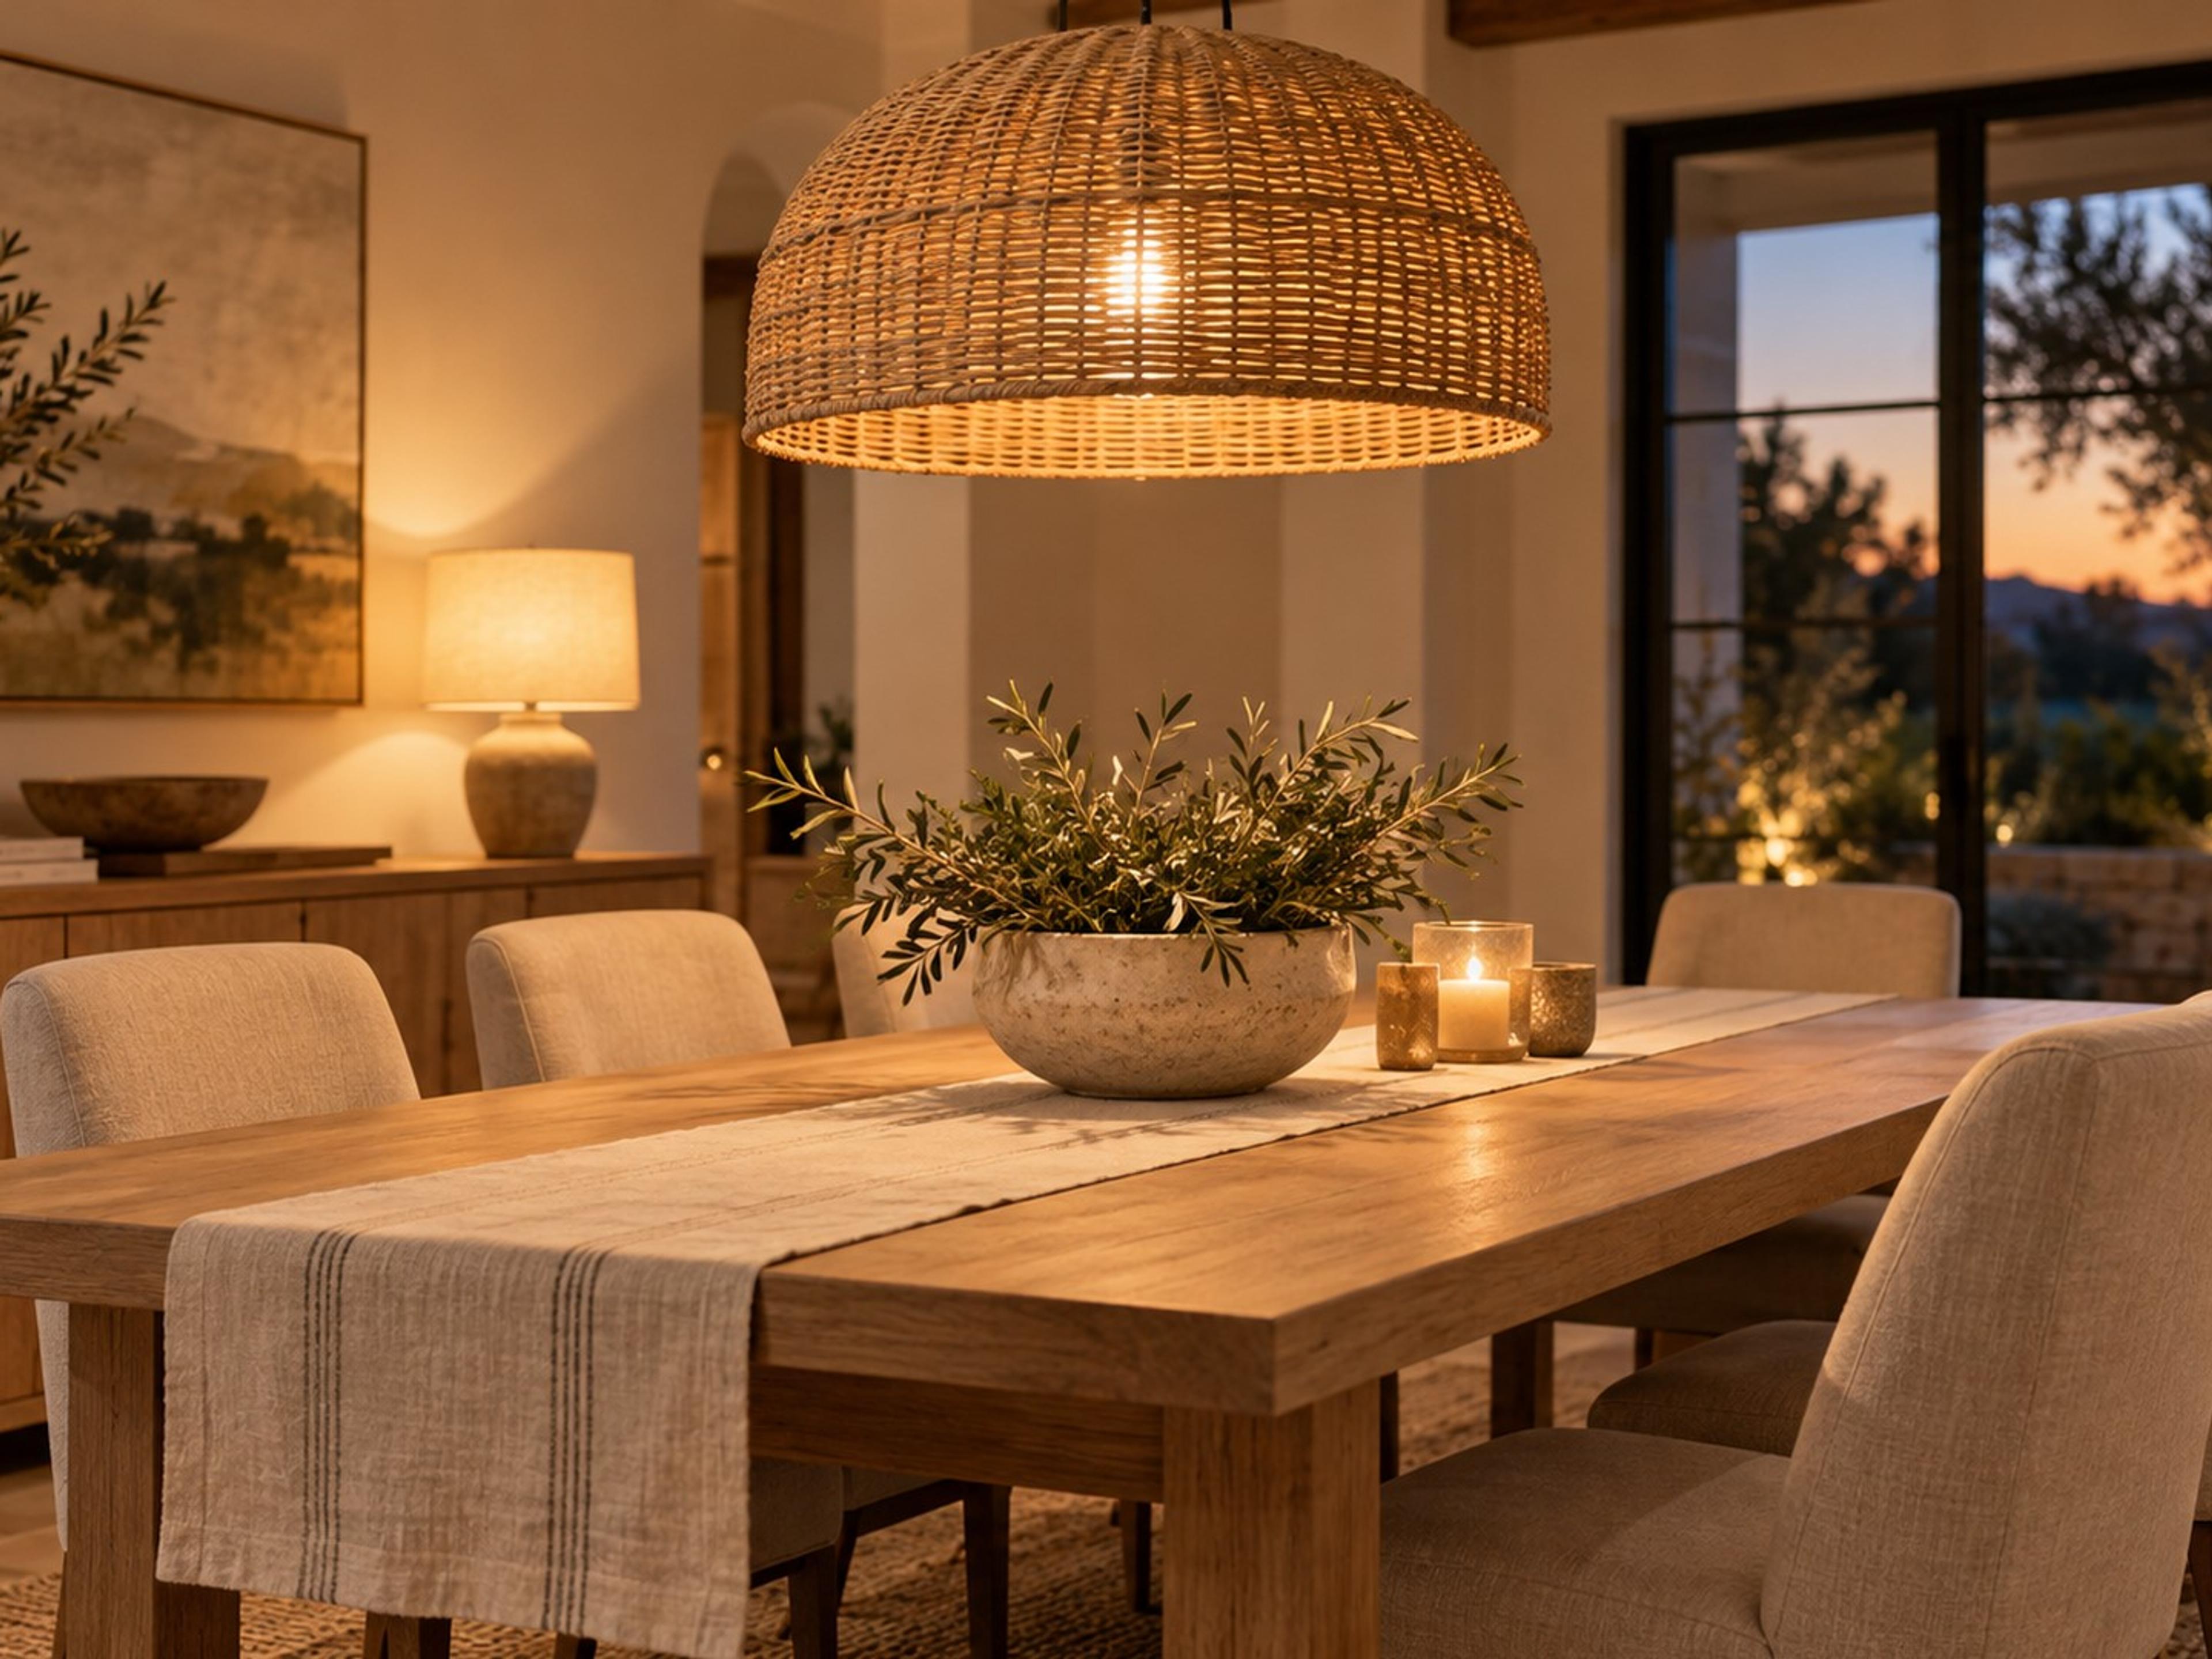
Pendant Height Over a Dining Table: How High to Hang It
Get the pendant height over a dining table right: the 30 to 36 inch guideline, adjustments for tall ceilings, sizing, spacing and renter options.